
“Failing to prepare is preparing to fail.”
– JOHN WOODEN
There are countless platforms offering hiking tips — thousands, for sure.
But what makes this blog different is simple: I’m sharing the lessons I learned the hard way, from my past hiking mistakes to the strategies I applied on my next climbs that made everything easier and more enjoyable.
If you’re a beginner hiker looking for real, relatable, and experience-based tips, this guide is for you.
MY PREPARATION DAYS BEFORE THE HIKE
- Do simple exercises – walking, brisk walking, jump rope, jogging or any cardio you enjoy.
When I started hiking back in 2016, I was still physically okay and not yet overweight — but I NEVER exercised.
So during my Mt. Ulap hike, my knees hurt badly and I constantly struggled to catch my breath. It was supposed to be a “walk in the park” type of hike. Very minor. But the struggle was real!
Fast forward to 2023 — I was obese, doing zero exercise, and although I walked a lot, I also ate a lot.
When I hiked Mt. 387, I fainted. I almost didn’t finish that minor hike either.
But I managed my fear and completed the trail at my own pace.
That experience taught me this:
You don’t need to be extremely fit to start hiking — you just need consistency and basic movement.

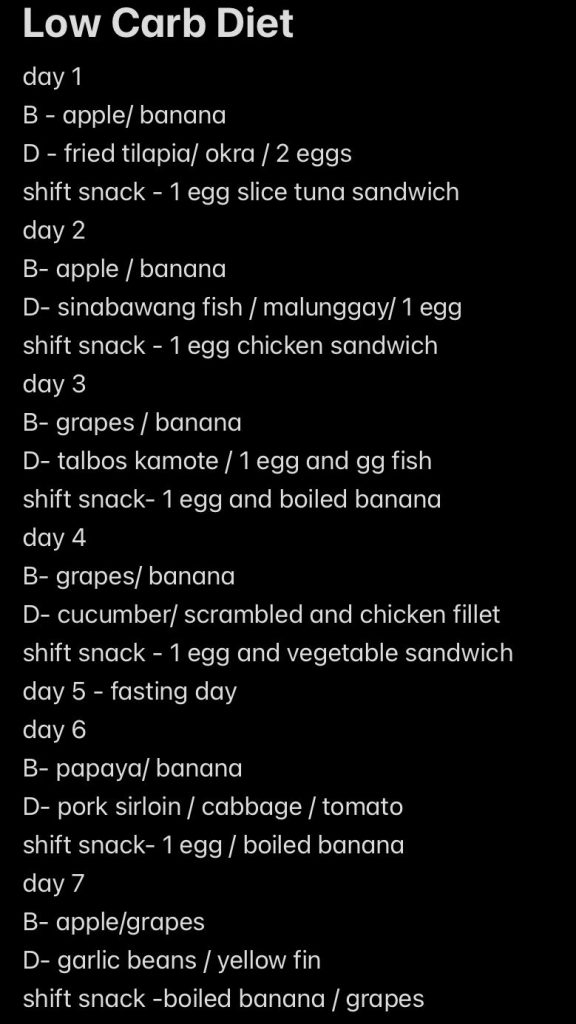
2. Eat healthy food, practice a balanced diet.
Yes, you’ve heard this a thousand times — but it’s true.
Preparing vegetables and fruits for every meal is challenging and time-consuming, but it works.
Most of my meals today are:
- Steamed
- Lightly fried
- Paired with fruits as healthy sides
I’ve removed fast food from my weekly routine. I only eat fast food when I have no healthy options, especially during night shifts or long office days. And whenever I do eat fast food, I make sure to exercise or do intermittent fasting after.
Healthy eating isn’t about perfection — it’s about discipline and mindset.
3. Research EVERYTHING about the mountain or trail.
I learned this lesson the hard way during my Mt. Arayat Quad-Peak hike last October 2023.
Because I lived in Pampanga, I assumed Mt. Arayat would be easy.
I didn’t research. I didn’t prepare.
Big mistake.
I was the slowest in the group, almost fainted, and even ran out of water.
The assaults were insane, and the Monkey Trail was extremely dangerous with narrow knife-edge paths.
From that moment on, I made a promise:
No matter how “minor” a hike is, I will ALWAYS research the trail.
How does this help?
- You’ll know whether the trail is steep, exposed, dusty, or technical.
- You’ll understand how long each section takes.
- You can mentally prepare for hard parts.
- You can adjust your physical training before the hike.
This single habit will save you from surprises — and injuries.
WHAT I DO A NIGHT BEFORE THE SCHEDULED HIKE.
1. Avoid heavy meals before the hike.
I learned this the hard way during my first attempt at the Cawag Hexa in November 2023.
I ate a chicken burger the night before — and I regretted it the next day.
I almost fainted on the trail. The heat was intense, but having a heavy, greasy meal the night before made everything worse. That climb reminded me to listen to my body and prepare it properly.
What most experts recommend
Outdoor and sports professionals generally advise avoiding heavy, fatty, or greasy meals before intense physical activity. Heavy food slows digestion and can cause:
- Stomach discomfort
- Sluggishness
- Difficulty breathing
- Low energy during the first hours of the hike
Instead, they suggest eating light, balanced meals with easy-to-digest carbs and lean protein.
What works for me personally
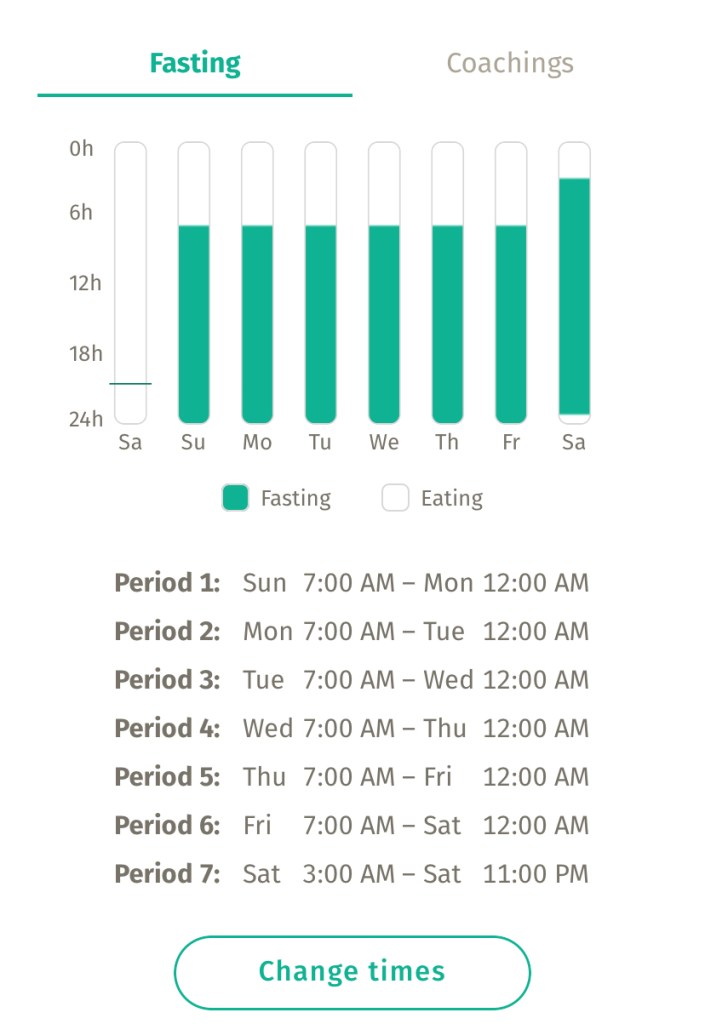
Over time, I found that eating light (or sometimes doing a short fast) the night before helps me feel:
- More energized
- Lighter and more comfortable
- Less bloated
- Able to breathe easier
- Less prone to stomach issues during ascents
This is my personal experience, and results may vary for others.
About fasting (based on research)
Some studies on intermittent fasting suggest that during the ketosis phase, the body may use stored fats for energy, which can feel more sustainable for certain individuals. However, fasting is not required for hiking, and beginners should choose what feels safe and comfortable for them.
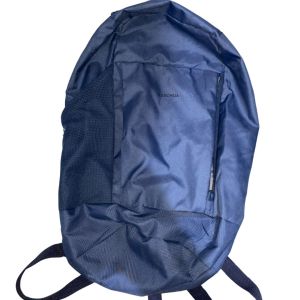
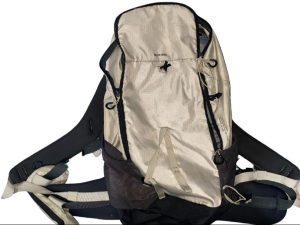
2. Don’t bring so much stuff. Bring what’s needed specially for emergencies.
Remember:
You will walk for hours, uphill and downhill, carrying everything on your back.
So pack smart.
What I bring for a minor dayhike:
- 1–2 L water
- 4 Fitbars / oatmeal cookies / SkyFlakes
- 1–2 cans tuna (San Marino)
- 1 apple
- 500ml Pocari Sweat
- Extra shirt, shorts, and underwear
- Lightweight raincoat or umbrella
- Salt or “tito essentials” (Efficascent Oil, etc.)
- Body soap, shampoo, toothpaste & small towel
- Basic emergency kit
- Slippers
- 10L Quechua bag
For a major dayhike (e.g., Cawag Hexa):
- 3–4 L water (or less if there are water sources)
- 4 trail snacks
- 1–2 cans tuna
- 1 apple
- 500ml Pocari
- Extra clothes
- Rain protection
- Essentials & emergency kits
- Slippers
- 30L Quechua bag
For multi-day major hikes:
Plus:
- Tent, sleeping bag
- Hiking sandals
- Thermal jacket
- Camping plate & spork
- Extra sets of clothes (1 per day)
The key:
Do not bring unnecessary weight. Your back and knees will thank you.
DURING THE HIKE
1. Always stretch and warm up.
Many hikers forget this — but stretching prevents injuries.
I learned this lesson painfully during my Mascap Decalogy hike. I didn’t warm up, injured my knee, and couldn’t finish.
Warm-up only takes 5–10 minutes:
- Neck
- Back
- Hips
- Knees
- Feet
- Arms
Lubricate your joints before climbing!
2. Walk at your own pace — not someone else’s.
Beginners often try to keep up with experienced hikers, but this usually leads to exhaustion or injury.
Go slow.
Enjoy the trail.
Save your energy.
Hiking is not a marathon.
What matters is that you finish safely and enjoy the journey.
3. Listen to your local hiking guide.
They know:
- The safest paths
- The dangerous sections
- When to rest
- What to avoid
Their instructions could save your life.
4. Rest whenever you’re tired.
There is nothing wrong with taking breaks.
Your reason for hiking — whether mental health, exploration, or fitness — is valid.
Rest, breathe, look around.
Remember that you’re there to enjoy! The only secret recipe to enjoy the hike is to do it at your own pace. Don’t rush and don’t quit!
AFTER THE HIKE
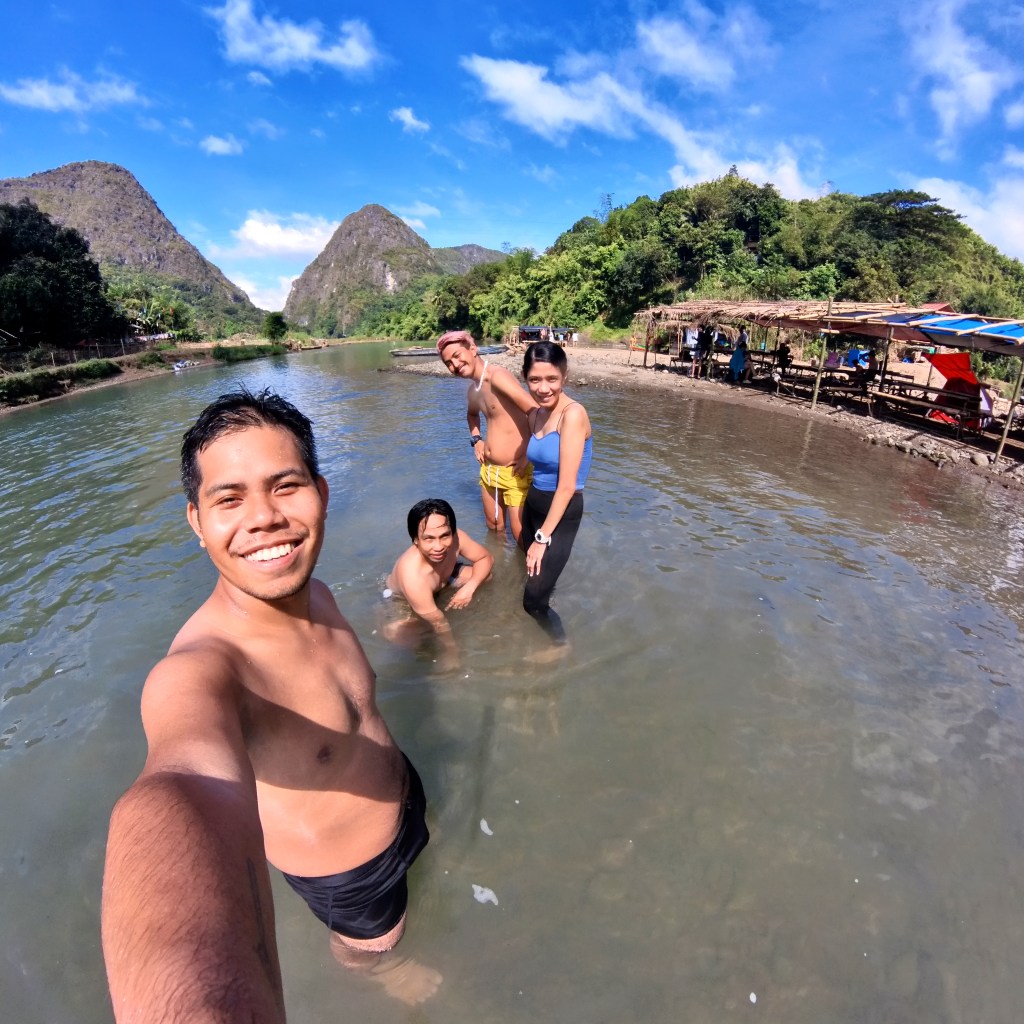
1. Take a cold bath. The longer bath, the better!
A cold bath (or ice bath) reduces:
- Muscle soreness
- Inflammation
- Fatigue
After the Mascap Decalogy, I swam in a cold river and my knee recovered faster!
Within three days, I was back to my jump rope routine.
2. Eat whatever you want — you earned it!
Your body burned thousands of calories.
Reward yourself!
I usually go for tinolang manok with lots of vegetables. Still healthy — but satisfying!
FINAL THOUGHTS
These tips come from my real hiking experiences — failures, injuries, comebacks, and victories.
An injury-free hike is the best kind of hike.
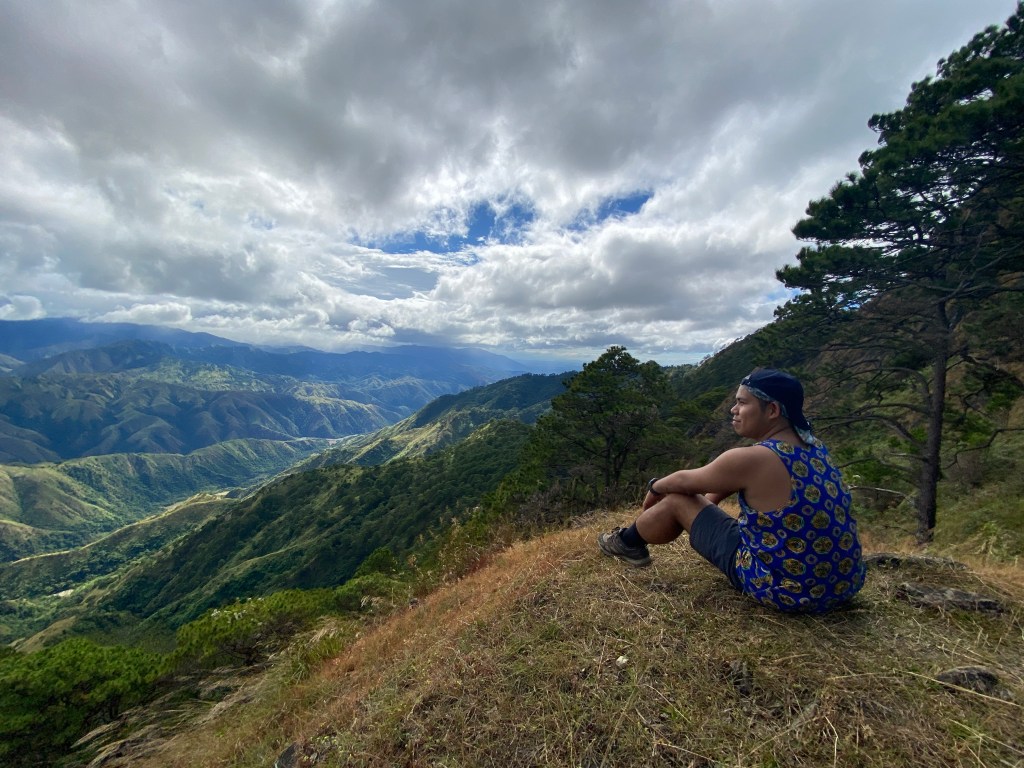
Hiking is my way to reconnect with nature, escape the chaos of the world, and find peace in the mountains.
If I could live in a remote place surrounded by nature every day, I absolutely would.
I hope this guide helps you in your hiking journey.
More tips coming soon — and I’d love for you to join me in my next blogs!

Follow my social media accounts for more inspiring and more #ChillAdventures at CHILL Adventures with Joms


One thought on “Beginner’s Hiking Guide: What I Learned From My Mistakes (So You Don’t Repeat Them!)”